User can connect IP camera to 3rd party software or standalone NVR which support onvif profile-S.
The motion detection will send thru notification message to the recorder.
Discover the onvif port.
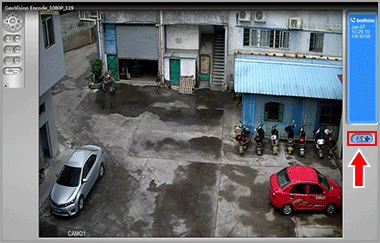
1.In the "Main" , click “Device Config”
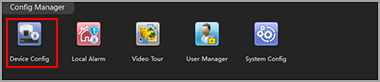
2.Select the camera from list, click icon “Network”
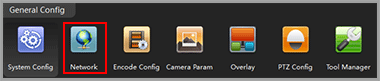
3.Find the port number next to onvif.

NOTE: you can change onvif port as well as TCP/IP port.
Connect to 3rd party VMS software (use Geovision as example)
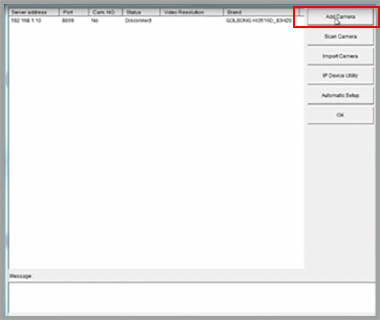
1.Click icon “System configure” and select “IP camera install”, a new dialog pop-up.
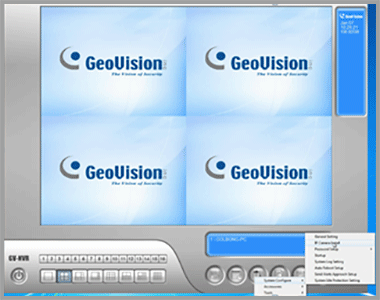
2.Click “Add camera”
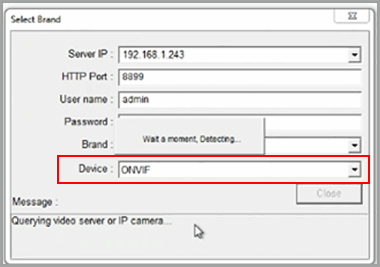
3.Fill in the IP address, HTTP port
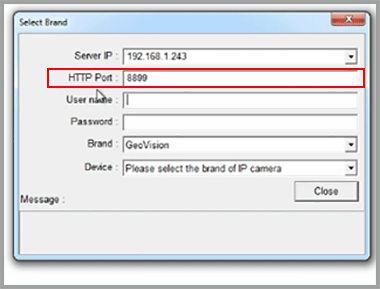
NOTE: HTTP port is the onvif port in the camera
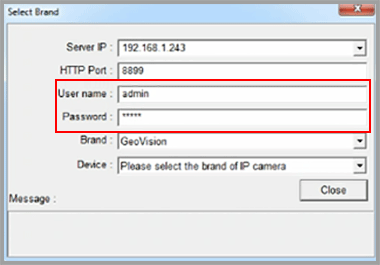
4.Fill in the username and password.
5.Select “protocol” from brand list
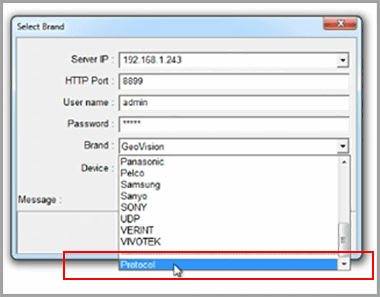
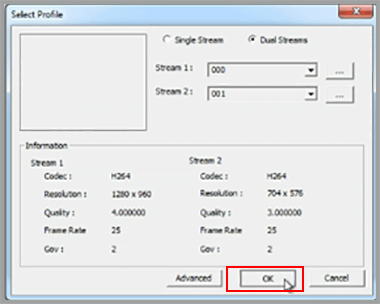
6.Select “Onvif” from device, video profile will pop up in the screen.
7.Click “OK” to save. Now you can assign the camera to a specific channel and watch the live.
NOTE: Different software may have different process to add the camera.
Enable PTZ pane
User can enable PTZ panel for PTZ camera.
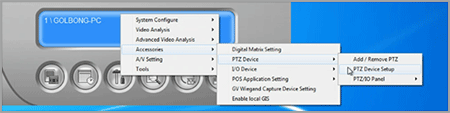
1.Click icon “System configure” and select “Accessories”,

2.Find the “PTZ Devices”, click “PTZ Device setup”, a new screen pop-up
3.Check the PTZ control, click “OK” to save, a new icon appear on the right.
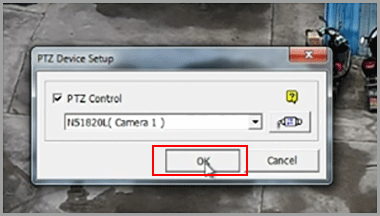
4.Click the PTZ icon, you can control PTZ camera now.